Formulare an monday.com anbinden: Lead-Form → Item via GraphQL API

TL;DR: „monday WorkForms ist nett – aber wer Custom-Design + monday.com kombinieren will, baut das Formular in Lovable und schreibt per GraphQL direkt ins Board."
— Till Freitag📌 Lovable-Forms-Serie · Teil 4 von 6
Du hast in Teil 1 die SaaS-Optionen gesehen, in Teil 2 selbst gebaut und in Teil 3 production-ready gemacht. Jetzt geht es ans Backend: dein Lovable-Formular landet als Item in monday.com.
Formulare an monday.com anbinden: Lead-Form → Item via GraphQL API
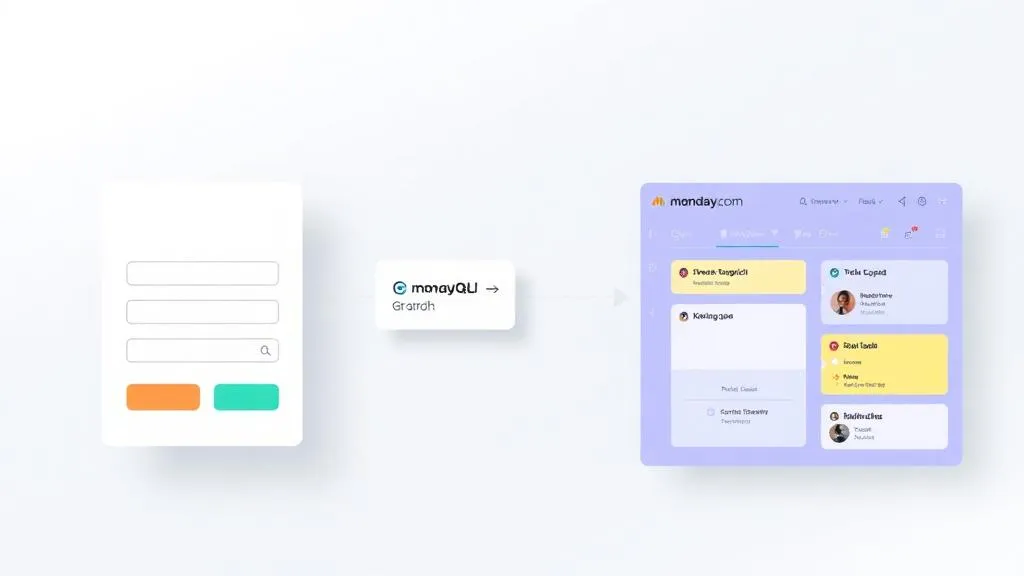
Du nutzt monday.com als CRM, willst aber kein WorkForm einbetten – sondern dein eigenes Lovable-Formular pixel-perfect designen und trotzdem direkt im Board landen. Genau dafür gibt es die monday GraphQL API.
In diesem Teil zeigen wir dir die komplette Pipeline: vom Form-Submit über eine Edge Function bis zum frisch erstellten Item im monday-Board – inklusive Field-Mapping, Auth-Strategie und den klassischen Stolpersteinen.
Warum nicht einfach WorkForms?
monday WorkForms (siehe Teil 1) ist die schnellste Lösung – aber sie kommt mit Limits:
- Design ist auf monday-Templates begrenzt
- Embed verändert dein Cookie-/DSGVO-Setup
- Conditional Logic ist okay, aber nicht so frei wie eigener Code
- Multi-Step-Flows mit eigenem Fortschrittsbalken? Eingeschränkt
Sobald dein Formular Teil deiner Brand-Experience ist (Pricing-Wizard, Onboarding, Demo-Request), willst du es selbst bauen – aber die Lead-Daten trotzdem dort haben, wo dein Sales-Team eh arbeitet: in monday CRM.
Architektur in 3 Boxen
[Lovable Form] → [Edge Function] → [monday GraphQL API] → [Board Item]
   (Frontend)       (Auth + Map)       (api.monday.com)      (CRM)
Wichtig: Den monday API Token niemals im Frontend halten. Er gehört in eine Edge Function – als Secret in Lovable Cloud bzw. Supabase.
Schritt 1: monday API Token erzeugen
- In monday.com: Avatar → Developers → My Access Tokens
- Token kopieren (nur Personal Token für Tests; für Production lieber OAuth-App anlegen)
- In Lovable Cloud unter Backend → Secrets als
MONDAY_API_TOKENablegen
⚠️ Personal Token vs. OAuth: Personal Tokens hängen an deinem User-Account – wenn du das Unternehmen verlässt, brechen alle Integrationen. Für Production immer eine eigene monday-App mit OAuth bauen.
Schritt 2: Field-Mapping definieren
Jede Spalte im monday-Board hat eine Column-ID (nicht der Spaltenname!). Die findest du via API oder im UI unter Spalte → ⋮ → Customize → ID kopieren.
| Form-Feld | monday-Spalte | Column-ID | Column-Type |
|---|---|---|---|
name |
Name (Item) | – | (Item-Title) |
email |
email__1 |
email |
|
company |
Unternehmen | text__1 |
text |
phone |
Telefon | phone__1 |
phone |
source |
Lead-Quelle | status__1 |
status |
message |
Notiz | long_text__1 |
long_text |
Wichtig: monday erwartet column_values als JSON-String – und jeder Column-Type hat sein eigenes Format. text ist plain string, email ist {"email":"...","text":"..."}, status ist {"label":"..."}.
Schritt 3: Edge Function bauen
// supabase/functions/submit-lead-to-monday/index.ts
import { serve } from "https://deno.land/std@0.168.0/http/server.ts";
import { z } from "https://deno.land/x/zod@v3.22.4/mod.ts";

const corsHeaders = {
  "Access-Control-Allow-Origin": "*",
  "Access-Control-Allow-Headers": "authorization, x-client-info, apikey, content-type",
};

const LeadSchema = z.object({
  name: z.string().trim().min(2).max(100),
  email: z.string().trim().email(),
  company: z.string().trim().max(200).optional(),
  phone: z.string().trim().max(50).optional(),
  source: z.enum(["website", "ads", "referral", "event"]),
  message: z.string().trim().max(2000).optional(),
});

const BOARD_ID = 1234567890; // dein Board
const MONDAY_API = "https://api.monday.com/v2";

serve(async (req) => {
  if (req.method === "OPTIONS") return new Response(null, { headers: corsHeaders });

  try {
    const parsed = LeadSchema.safeParse(await req.json());
    if (!parsed.success) {
      return new Response(JSON.stringify({ error: parsed.error.flatten() }), {
        status: 400,
        headers: { ...corsHeaders, "Content-Type": "application/json" },
      });
    }
    const lead = parsed.data;

    const token = Deno.env.get("MONDAY_API_TOKEN");
    if (!token) throw new Error("MONDAY_API_TOKEN is not configured");

    const columnValues = {
      email__1: { email: lead.email, text: lead.email },
      text__1: lead.company ?? "",
      phone__1: lead.phone ? { phone: lead.phone, countryShortName: "DE" } : null,
      status__1: { label: lead.source },
      long_text__1: { text: lead.message ?? "" },
    };

    const mutation = `
      mutation ($boardId: ID!, $itemName: String!, $columnValues: JSON!) {
        create_item(
          board_id: $boardId,
          item_name: $itemName,
          column_values: $columnValues
        ) { id }
      }
    `;

    const res = await fetch(MONDAY_API, {
      method: "POST",
      headers: {
        "Content-Type": "application/json",
        Authorization: token,
        "API-Version": "2024-01",
      },
      body: JSON.stringify({
        query: mutation,
        variables: {
          boardId: BOARD_ID,
          itemName: lead.name,
          columnValues: JSON.stringify(columnValues),
        },
      }),
    });

    const data = await res.json();
    if (data.errors) {
      console.error("monday error:", data.errors);
      return new Response(JSON.stringify({ error: "monday API rejected request" }), {
        status: 502,
        headers: { ...corsHeaders, "Content-Type": "application/json" },
      });
    }

    return new Response(JSON.stringify({ itemId: data.data.create_item.id }), {
      status: 200,
      headers: { ...corsHeaders, "Content-Type": "application/json" },
    });
  } catch (e) {
    console.error("submit-lead-to-monday:", e);
    return new Response(JSON.stringify({ error: "Internal error" }), {
      status: 500,
      headers: { ...corsHeaders, "Content-Type": "application/json" },
    });
  }
});
Schritt 4: Aus dem Frontend aufrufen
// In deinem Form-onSubmit
const { data, error } = await supabase.functions.invoke("submit-lead-to-monday", {
  body: values,
});

if (error || data?.error) {
  toast.error("Konnte Lead nicht übermitteln.");
  return;
}
toast.success("Danke! Wir melden uns innerhalb von 24h.");
form.reset();
Kein API-Token im Bundle, keine CORS-Workarounds – der Browser spricht nur mit deiner Edge Function, die Edge Function spricht mit monday.
Bidirektionale Updates: Webhooks
Möchte dein Sales-Team aus monday heraus den Lead-Status zurück ins eigene CRM-Mirror oder an Slack senden? Dann legst du in monday einen Webhook an (Integrationen → Webhooks → URL eingeben), der bei change_column_value deine Edge Function monday-webhook aufruft. Klassischer Flow:
- Sales setzt Status auf „Qualifiziert"
- monday feuert Webhook → Edge Function
- Edge Function postet in Slack-Channel und schreibt Audit-Log in Lovable Cloud DB
Pitfalls (lessons learned)
| Problem | Ursache | Lösung |
|---|---|---|
Invalid JSON for column_values |
column_values als JS-Object statt JSON-String | JSON.stringify() um das ganze Objekt |
| Status wird nicht gesetzt | Label existiert nicht im Status-Type | Vorher Labels im Board anlegen oder index statt label nutzen |
| Rate-Limit (429) | monday: 5000 Calls/Minute pro Account | Edge Function mit kurzem Backoff + Retry |
| Personal Token läuft ab | Token abhängig vom User | OAuth-App bauen für Production |
| Telefonnummer wird verworfen | Phone-Type braucht countryShortName | {phone, countryShortName: "DE"} statt nur String |
Bonus: Subitems & Updates
Du willst neben dem Lead auch direkt eine Subitem-Aufgabe für den Sales-Owner anlegen oder ein Update ans Item posten? Beides ist eine zweite GraphQL-Mutation in derselben Edge Function:
mutation ($parentId: ID!) {
  create_subitem(parent_item_id: $parentId, item_name: "Erstkontakt aufnehmen") { id }
}

mutation ($itemId: ID!, $body: String!) {
  create_update(item_id: $itemId, body: $body) { id }
}
Damit hat dein Sales-Team alles im Item: Originalanfrage, geplante Aktion, Verlauf.
Fazit
Mit ~80 Zeilen Edge-Function-Code wird aus jedem Lovable-Formular ein vollwertiger monday-Lead – mit deinem Design, deiner Logik und ohne WorkForm-Embed. Das ist die Custom-Variante zu Teil 1 und ein typischer Anwendungsfall für den Lovable + monday-Stack.
👉 Weiter in der Serie: Teil 5 – Smart Forms mit AI · Teil 6 – File-Uploads in Lovable-Formularen
👉 Zurück: Teil 1 · Teil 2 · Teil 3
Du brauchst Hilfe beim Setup? Sprich mit uns – wir bauen monday-Integrationen für CRM-, HR- und Operations-Teams.
Lovable Forms Serie
1 von 6 gelesen · 17%Sechs Artikel, die dich von der Tool-Wahl bis zu AI-gestützten Formularen mit File-Uploads bringen.
- TEIL 1Ungelesen
Formular-Tools im Vergleich
Tally, Typeform & monday WorkForms – wann sich SaaS lohnt.
Lesen - TEIL 2Ungelesen
Custom-Bau in Lovable
React Hook Form + zod + Lovable Cloud – die Eigenbau-Basis.
Lesen - TEIL 3Ungelesen
Production-Ready Best Practices
Validierung, DSGVO, Spam-Schutz, UX-Feedback.
Lesen - TEIL 4GelesenHier
Anbindung an monday.com
GraphQL API, Edge Function, Lead → Item im Board.
- TEIL 5Ungelesen
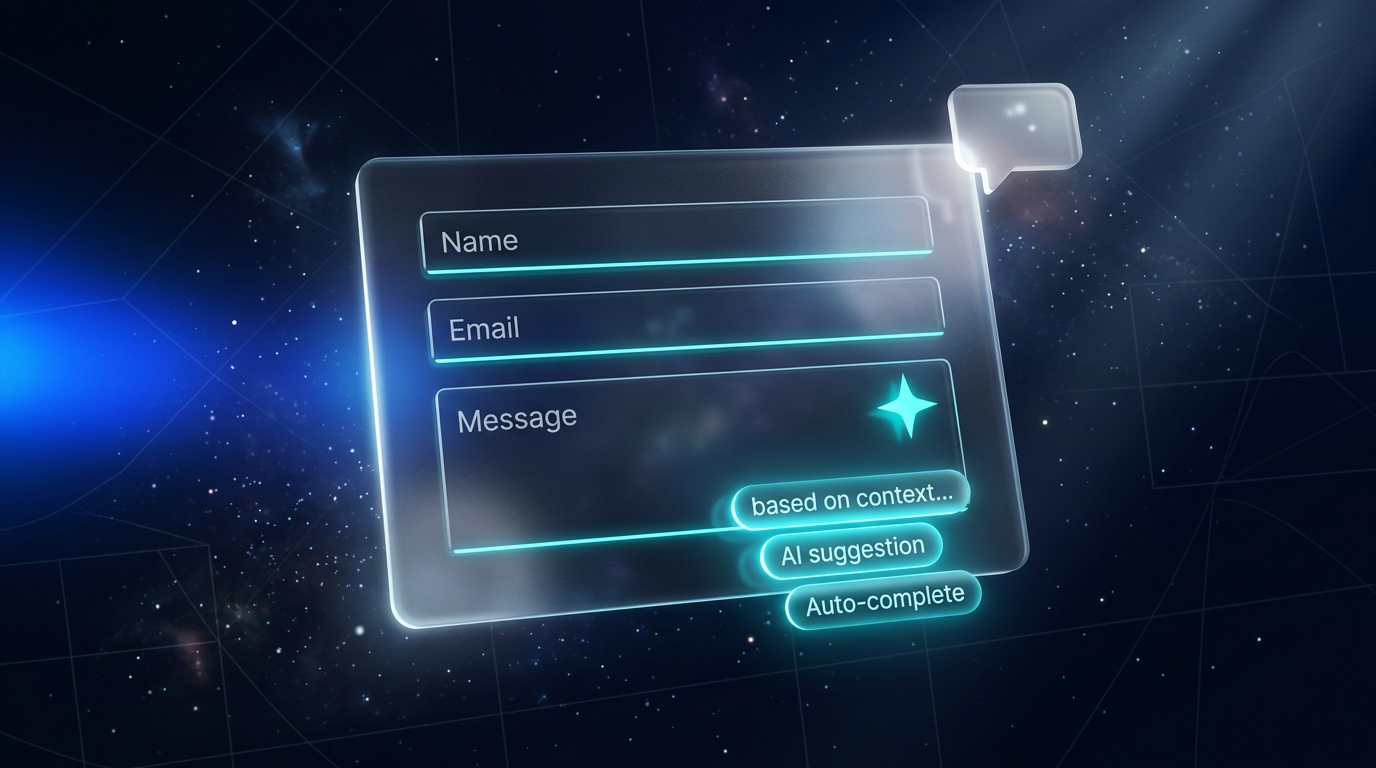
Smart Forms mit AI
Auto-Complete, AI-Validierung, Conversational Forms.
Lesen - TEIL 6Ungelesen
File-Uploads & Storage
Drag & Drop, Supabase Storage, RLS, signed URLs.
Lesen
Lesefortschritt wird lokal in deinem Browser gespeichert (localStorage).
Related Articles
Smart Forms mit AI in Lovable: Auto-Complete, AI-Validierung & Conversational Forms
Teil 5 der Lovable-Forms-Serie: Wie du Formulare mit dem Lovable AI Gateway aufwertest – Auto-Complete, AI-gestützte Val…
Read more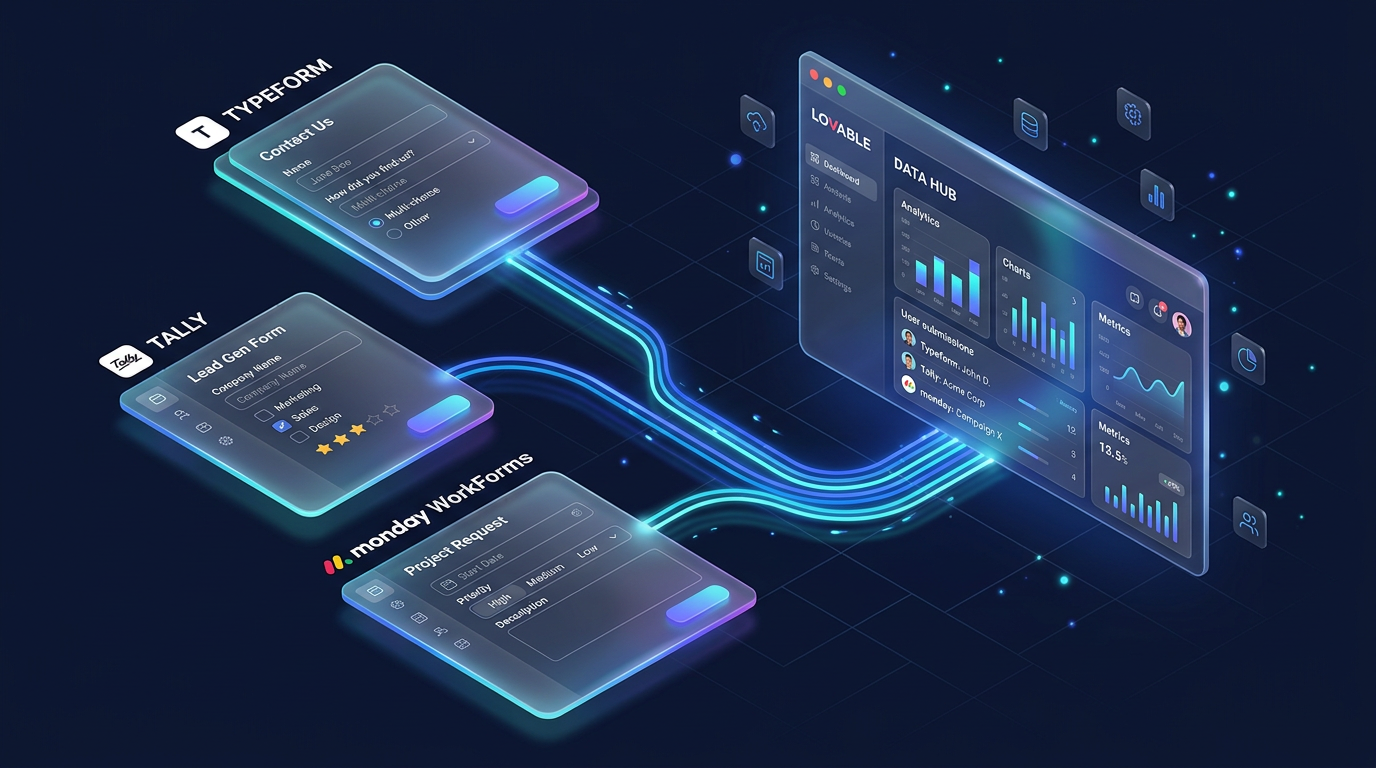
Formular-Tools für Lovable-Projekte: Typeform, Tally & monday WorkForms im Vergleich
Teil 1 der Lovable-Forms-Serie: Welches SaaS-Formular-Tool passt zu deinem Lovable-Projekt? Tally, Typeform & monday Wor…
Read more
Kontaktformulare in Lovable – Best Practices für professionelle Formulare
Teil 3 der Lovable-Forms-Serie: Production-Ready Best Practices für Kontaktformulare in Lovable – Validierung, DSGVO, Sp…
Read more
File-Uploads in Lovable-Formularen: Drag&Drop, Supabase Storage, RLS und signed URLs
Teil 6 der Lovable-Forms-Serie: Komplettes Setup für Datei-Uploads in Lovable-Formularen – mit react-dropzone, Supabase …
Read more
Formulare in Lovable selber bauen: React Hook Form, zod & Lovable Cloud Schritt für Schritt
Teil 2 der Lovable-Forms-Serie: Wie du Formulare direkt in Lovable baust – mit React Hook Form, zod, shadcn/ui und Lovab…
Read more
Vibeland Kickoff München – Review: 50 Leute, 7 Teams, 7 Produkte
Review vom Vibeland Kickoff in München: 50 Gäste, 7 Teams, 7 Produkte an einem Tag – vom Web Scraper bis zum Bla-bla-o-m…
Read moreVibeland Kickoff München: Warum wir ein eigenes Builder-Event auf die Dachterrasse stellen
Am 20. Mai bauen wir auf der WERK3-Dachterrasse im Werksviertel München gemeinsam Apps – live mit Lovable, p0, Claude un…
Read more
Framer Motion in Lovable nutzen – einfach prompten reicht (fast)
Framer Motion ist in Lovable-Projekten quasi out of the box dabei. Du musst es nicht installieren – du musst es richtig …
Read more
Revenue Royale Workshop: Buy vs. Build – Warum dein Custom-CRM ein Fehler war
Am 11. Juni liefern Alena Zidek (monday.com) und Malte Lensch (Till Freitag) den Workshop 'Buy vs. Build' bei der Revenu…
Read more